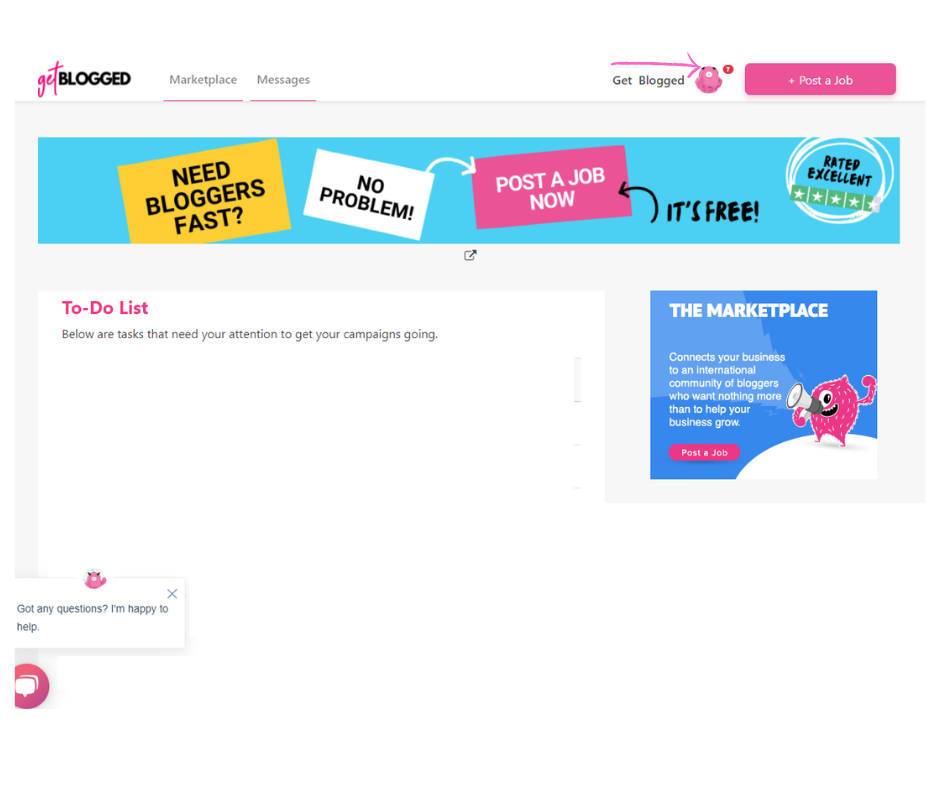
Whether you have just signed up to Get Blogged (welcome!) or you want to add a new site to your established account (welcome back!), it’s quick and easy to add a new site to your profile. It only takes a few simple steps and once the site is added you can start browsing our marketplace for collaboration opportunities.
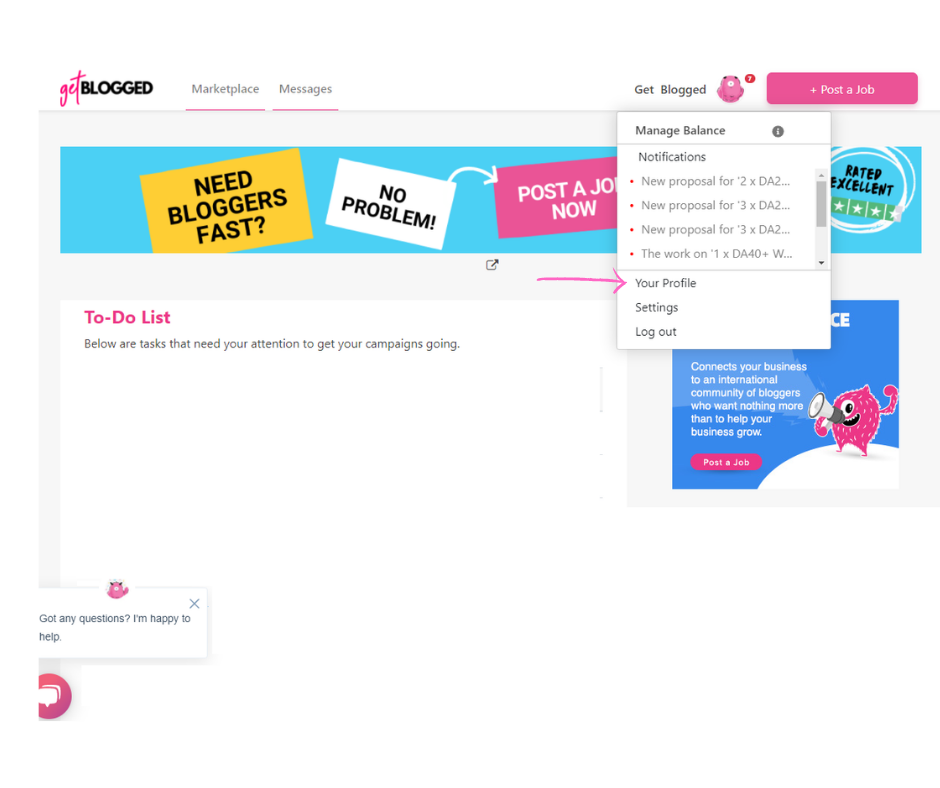
- Log into your Get Blogged Account. Click on your avatar in the top right-hand corner of the screen.
2. Click on ‘your profile’ menu option
3. Scroll down your profile page until you find the ‘websites’ section and click the pink + symbol next to ‘websites’.

4. Add the URL of your site, the name of your site, the category and a brief description (you can also connect your Google Analytics account now, if you like, or come back to that later) and click save.
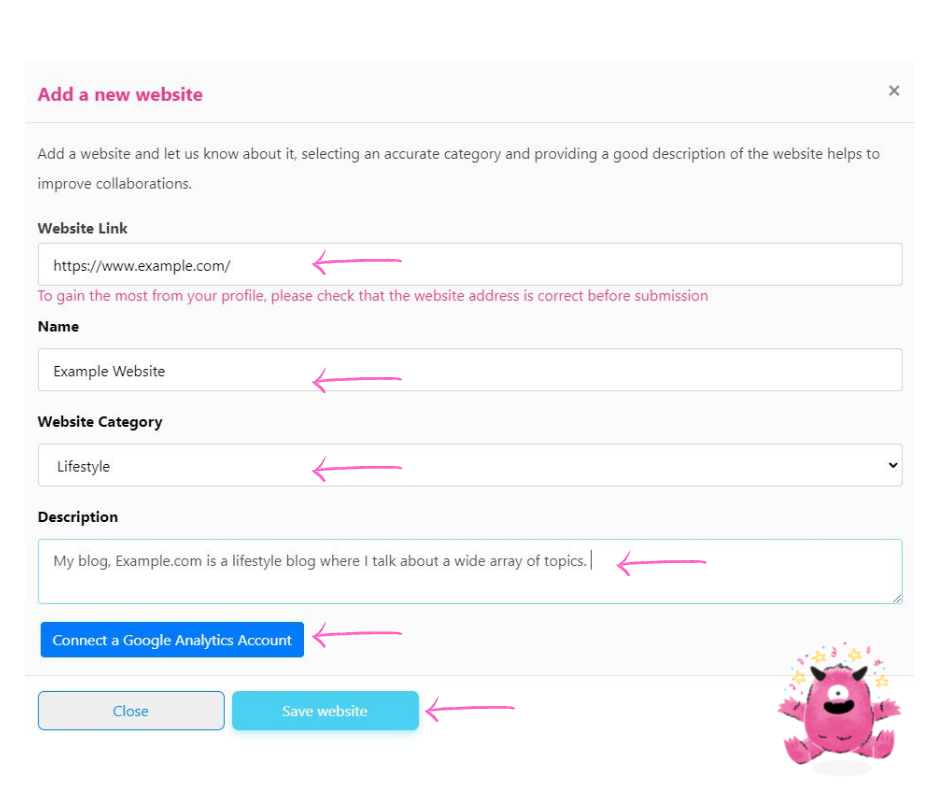
Your site should now appear on your profile, allowing you to apply for marketplace assignments. The domain authority and other metrics should appear shortly after it’s been added to the profile.
Please find an instructional video below for extra help.

 rated
rated


![6 ways to collaborate with bloggers this Thanksgiving [with case studies]](https://getblogged.net/wp-content/uploads/2022/10/pexels-rodion-kutsaiev-10060431-300x300.jpg)


![Blogger's guide to seasonal gift guides [+ 20 ideas to steal]](https://getblogged.net/wp-content/uploads/2022/09/pexels-ray-piedra-1502219-300x200.jpg)
![17 Blogger Marketing Ideas For September & October 2022 [+ Traffic Trends]](https://getblogged.net/wp-content/uploads/2022/09/pexels-lukas-628244-300x199.jpg)